
How do I start recording a meeting in Bitbook?
After installation, open Bitbook and select 开始录音, which means Start recording. Grant the microphone and system-audio permissions requested by your operating system first.
ENGLISH GETTING-STARTED GUIDE
Bitbook's desktop interface is currently primarily in Chinese. This guide shows the key labels and the full recording-to-notes workflow before you download.
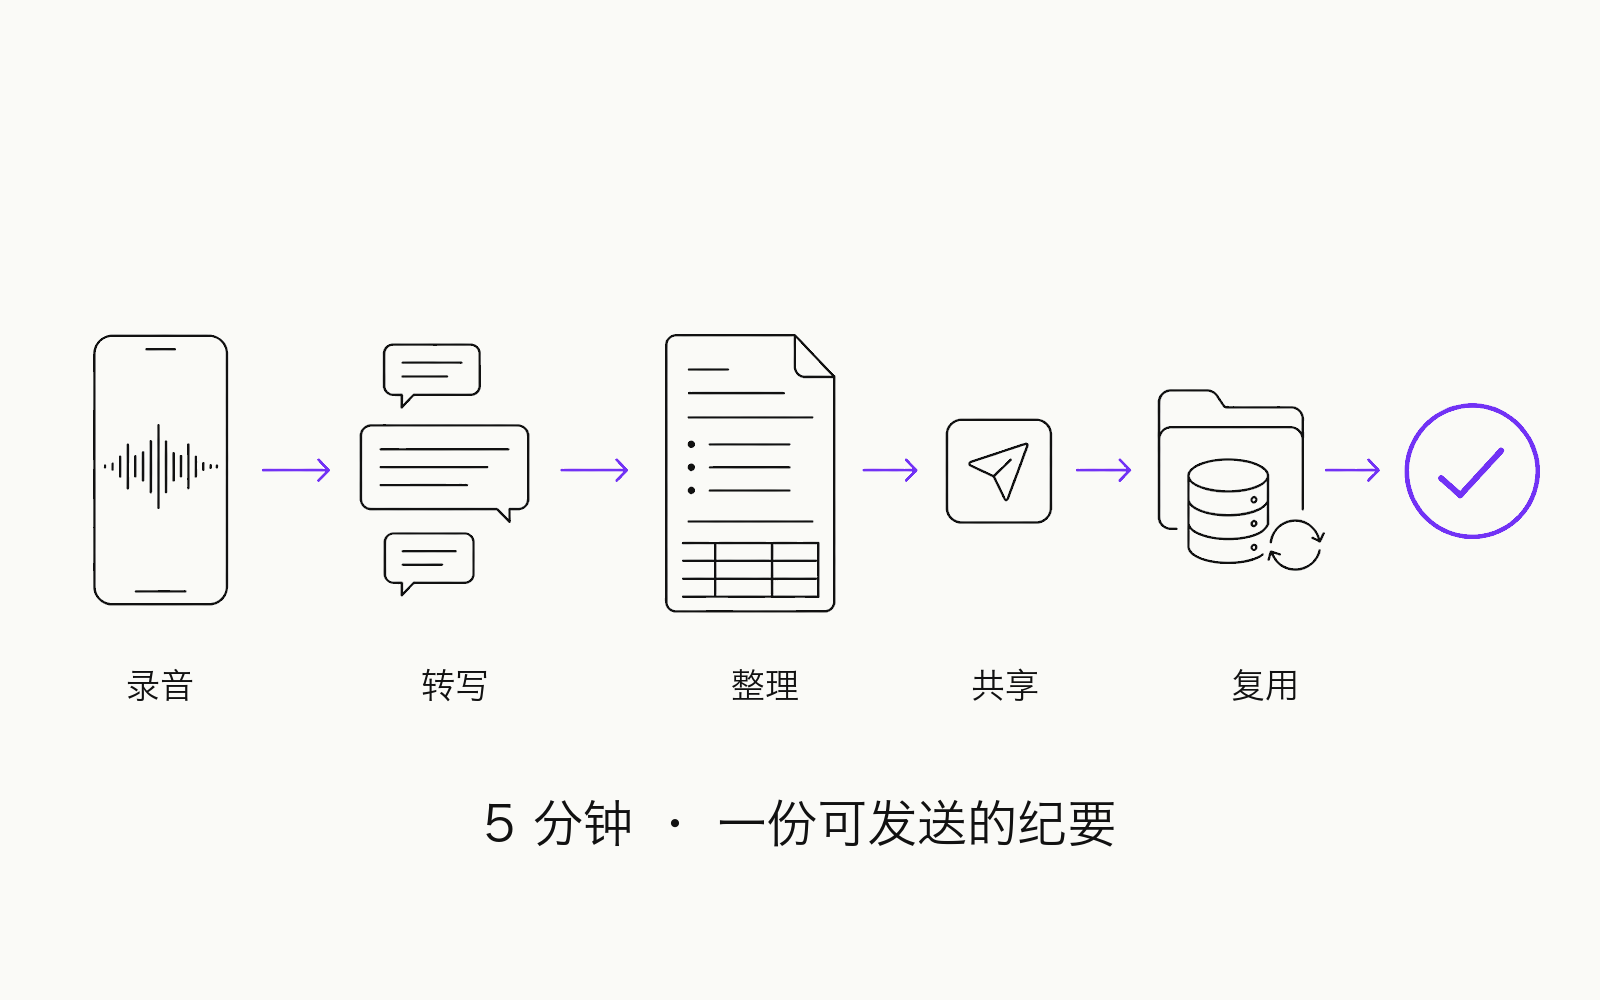
Product workflow screenshot. The app labels are currently primarily in Chinese.
Choose the macOS or Windows build on the download page. On first launch, grant the microphone and system-audio permissions requested by your operating system.
Look for 开始录音 (Start recording). Bitbook records the meeting audio on your computer and creates the working files locally.
After the meeting, open 会议 (Meetings) and select the recording. Use 转写 (Transcript) to review text, speakers, and corrections before sharing anything.
Choose 生成纪要 (Generate notes) after you have reviewed the transcript. AI note generation can send transcript text to the AI service you choose; it does not upload the original audio.
After installation, open Bitbook and select 开始录音, which means Start recording. Grant the microphone and system-audio permissions requested by your operating system first.
Yes. Open 会议 for Meetings and 转写 for Transcript, then review or correct the text before selecting 生成纪要 to generate notes.